Step 1
For this assignment, you'll add three elements, including an introduction text block, a conclusion text block, and a map tour. You are welcome to add additional elements if interested.
Start your StoryMap from scratch:
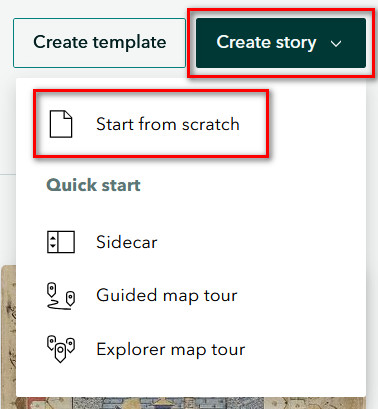
Completing these steps will initiate your StoryMap. Next, we'll learn how to adjust our theme through the Design section.
Step 2
Select the Design button at the top of the page (along the ribbon) to choose your design template for your StoryMap.
Click on each of the Cover designs - choose your favorite! You can always change your selection later if it no longer fits your vibe.
Next, select your Theme template. Click on the Featured themes gallery for even more options.
Add your title, short introduction, and cover image or video.

Step 3
Now let's try adding a text block by starting with the introduction.
Select the crosshair icon next to "Tell your story..." and choose Text. Replicate these same steps to add your conclusion text block.

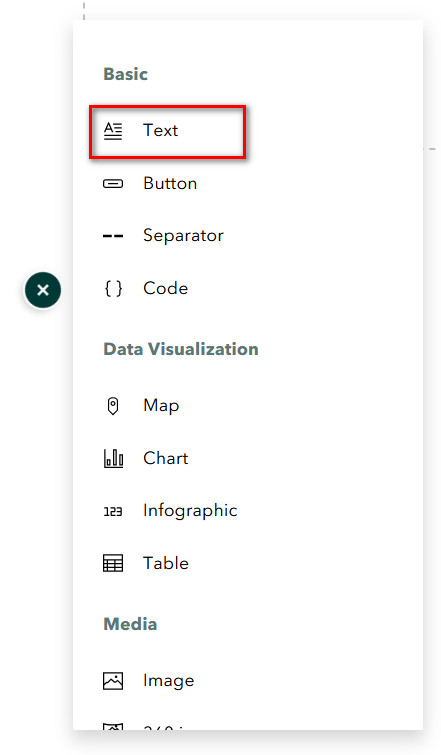
Notice when you click on the crosshair icon to add content, several other content options appear. Use these options to add other types of content like images, timelines, or maps.
Step 4
Now we'll create the interactive web map portion of your final project. You'll add your locations of interest, images, and text here.
Remember to save a copy of your text in a Word document and your images in a separate folder on your computer!
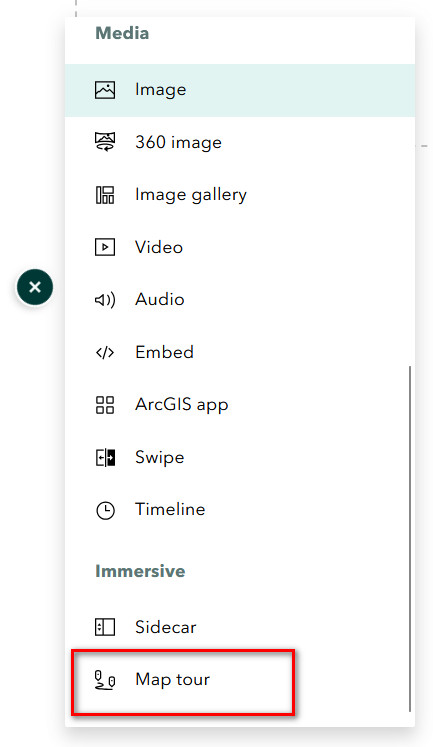
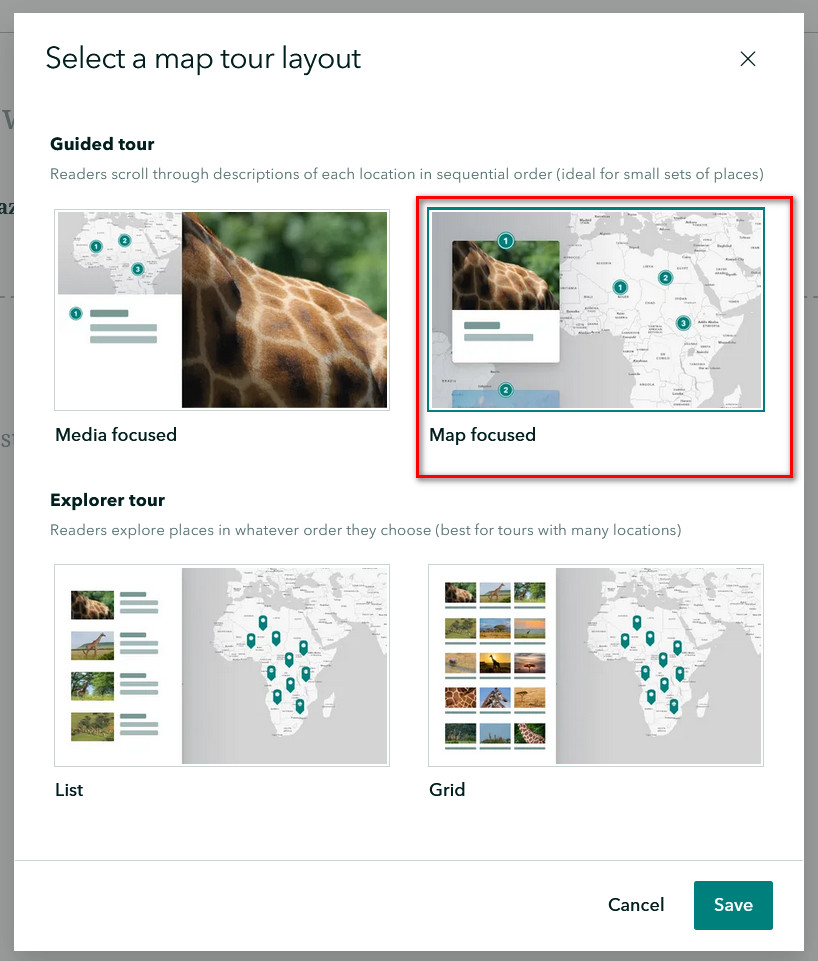
Hover and select the crosshair icon again. Scroll down and choose Map tour. Create your map tour from scratch, then select the Map focused layout.
Since political borders change, let's modify our basemap to something that more accurately reflects this. Select the pencil icon, then select the basemap and change it to "Imagery" (3rd row, far left).


Step 5
Next we'll add content to our map tour layout.
A. On the first card (located on the left side of the screen) select Add location and zoom into your place of interest.
💡 Tip: You can use the search location bar at the top-left corner to help you locate your area.
B. Select your zoom level. Selecting the option Use the current zoom level will capture a customized zoom level of your choosing. Either zoom level option is fine to use!

C. Next, add your image, text, and sources.
D. That's it! Keep adding tour cards until you have at least 5 places and something that resembles this: